 Laisha
AI Operating System for Agriculture
Enter Laisha
Laisha
AI Operating System for Agriculture
Enter Laisha
Pisum sativum · Also called: Green pea, Garden pea, Shelling pea, English pea, Fresh pea, Matar, Hare matar, Batani
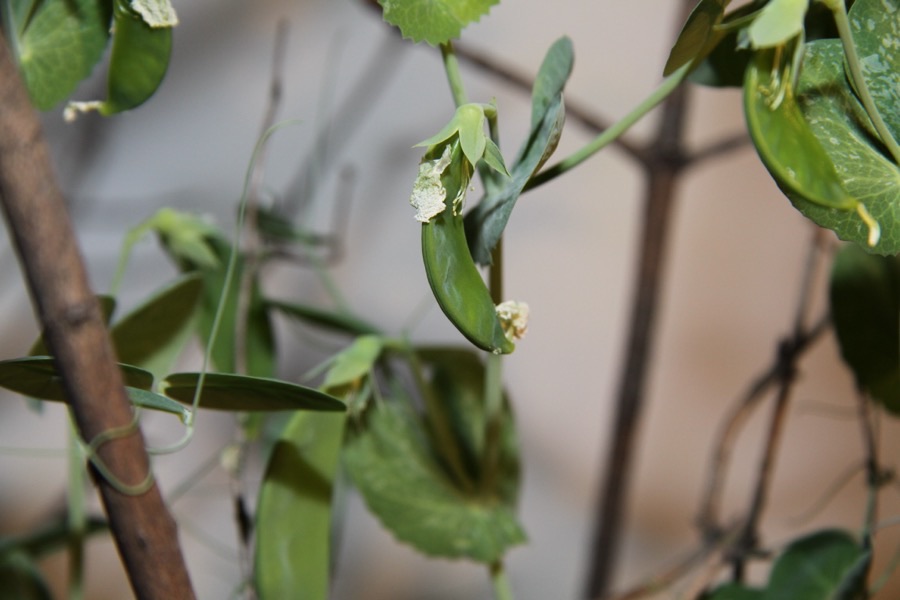
Photo: Chmee2, CC BY 3.0 (Wikimedia Commons)
A green pea is a vegetable with a clock running. It is the same plant as the dry field pea, but it is picked while the seed is still soft and sweet, and from that moment the sugar inside begins turning to starch. That single fact shapes everything: when you sow, how often you pick, how fast you get to market, and what you are paid. India and China grow by far the most fresh green peas, with the United States, France, Egypt, Algeria, Peru and Kenya also producing, and in much of South Asia it is a winter cash crop that comes in when little else does. It also feeds the household directly and leaves nitrogen in the ground for whatever follows.
If you see: Peas that are hard, dull and floury rather than sweet, although the pods looked well filled when you picked them.
It likely means: They were picked late. Once a pea is fully grown, the sugar in it starts turning to starch, and the change is quick.
Do this: Go over the field every two or three days rather than once a week.
If you see: Flowers dropping off, and pods that stay flat and empty on plants that otherwise look healthy.
It likely means: Heat during flowering. Peas set and fill in cool weather and simply stop when it turns hot.
Do this: Sow so that flowering falls in your coolest weeks, and count back from that.
If you see: A white or greyish dusty coating spreading over the leaves, stems and then the pods, late in the season.
It likely means: Powdery mildew. It thrives on warm dry days with cool damp nights, which is exactly the weather a late pea crop meets.
Do this: Ask a licensed dealer for resistant kinds, which is the main defence.
If you see: Plants yellowing, stunted and wilting in patches, easily pulled up, with blackened rotted roots and no pink nodules.
It likely means: Root rot in wet ground or in a field that has carried too many legumes. Growers call such ground pea-sick.
Do this: Do not sow peas where peas, beans or lentils grew in the last three or four years.
If you see: A small round hole in the side of a pod, and a caterpillar inside that has eaten some of the peas.
It likely means: A pod borer caterpillar. It feeds inside the pod where nothing sprayed on the outside reaches it.
Do this: Pick out and destroy bored pods at every picking rather than leaving them on the plant.
If you see: Tall plants collapsed on the ground with pods lying in the mud, hard to pick and dirty when picked.
It likely means: A tall kind grown without support, or supports put up too late, sometimes worsened by too much nitrogen.
Do this: Put nets, sticks or wire up before the plants are knee high.
If you see: Clusters of small green insects on the growing tips and flower stalks, with sticky leaves and sometimes distorted new growth.
It likely means: Pea aphids. Besides feeding on the plant they carry virus diseases from one crop to the next.
Do this: Wash them off with water or rub them off by hand where the plot is small.
Growing the crop is only part of the job. The last part is knowing what a normal harvest looks like where you are, and knowing what your pods are worth before you agree a price with anybody.
If you forget every other page of this guide, keep these lines. They are the whole crop, in order, short enough to carry in your head.
What does a pea plant look like, and how does it hold itself up?
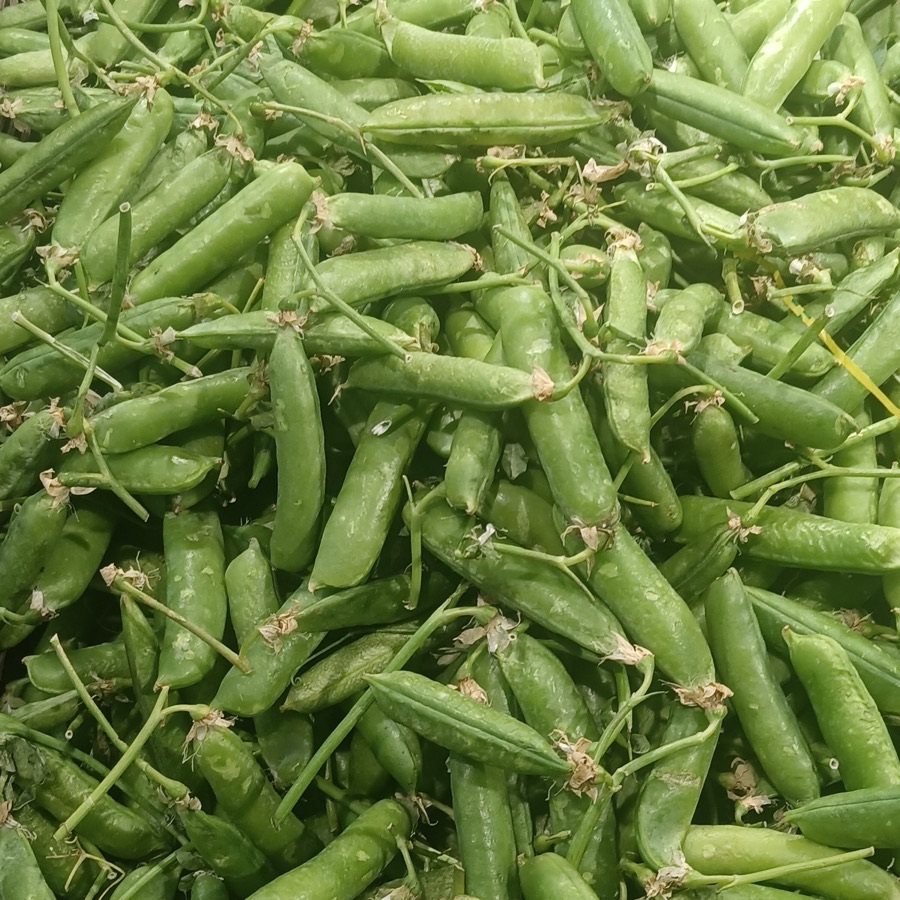
How do I know a pod is ready to pick?
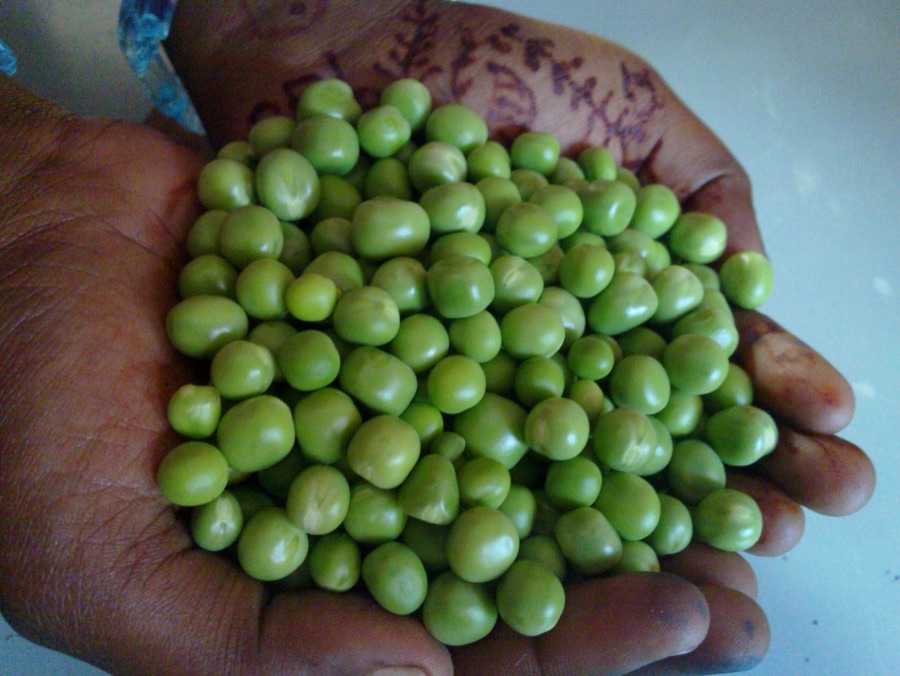
What should the shelled peas look like?