 Laisha
AI Operating System for Agriculture
Enter Laisha
Laisha
AI Operating System for Agriculture
Enter Laisha
Laisha
AI Operating System for Agriculture
Enter Laisha
Laisha
AI Operating System for Agriculture
Enter Laisha
Curcuma longa · Also called: Haldi, Haridra, Manjal, Indian saffron
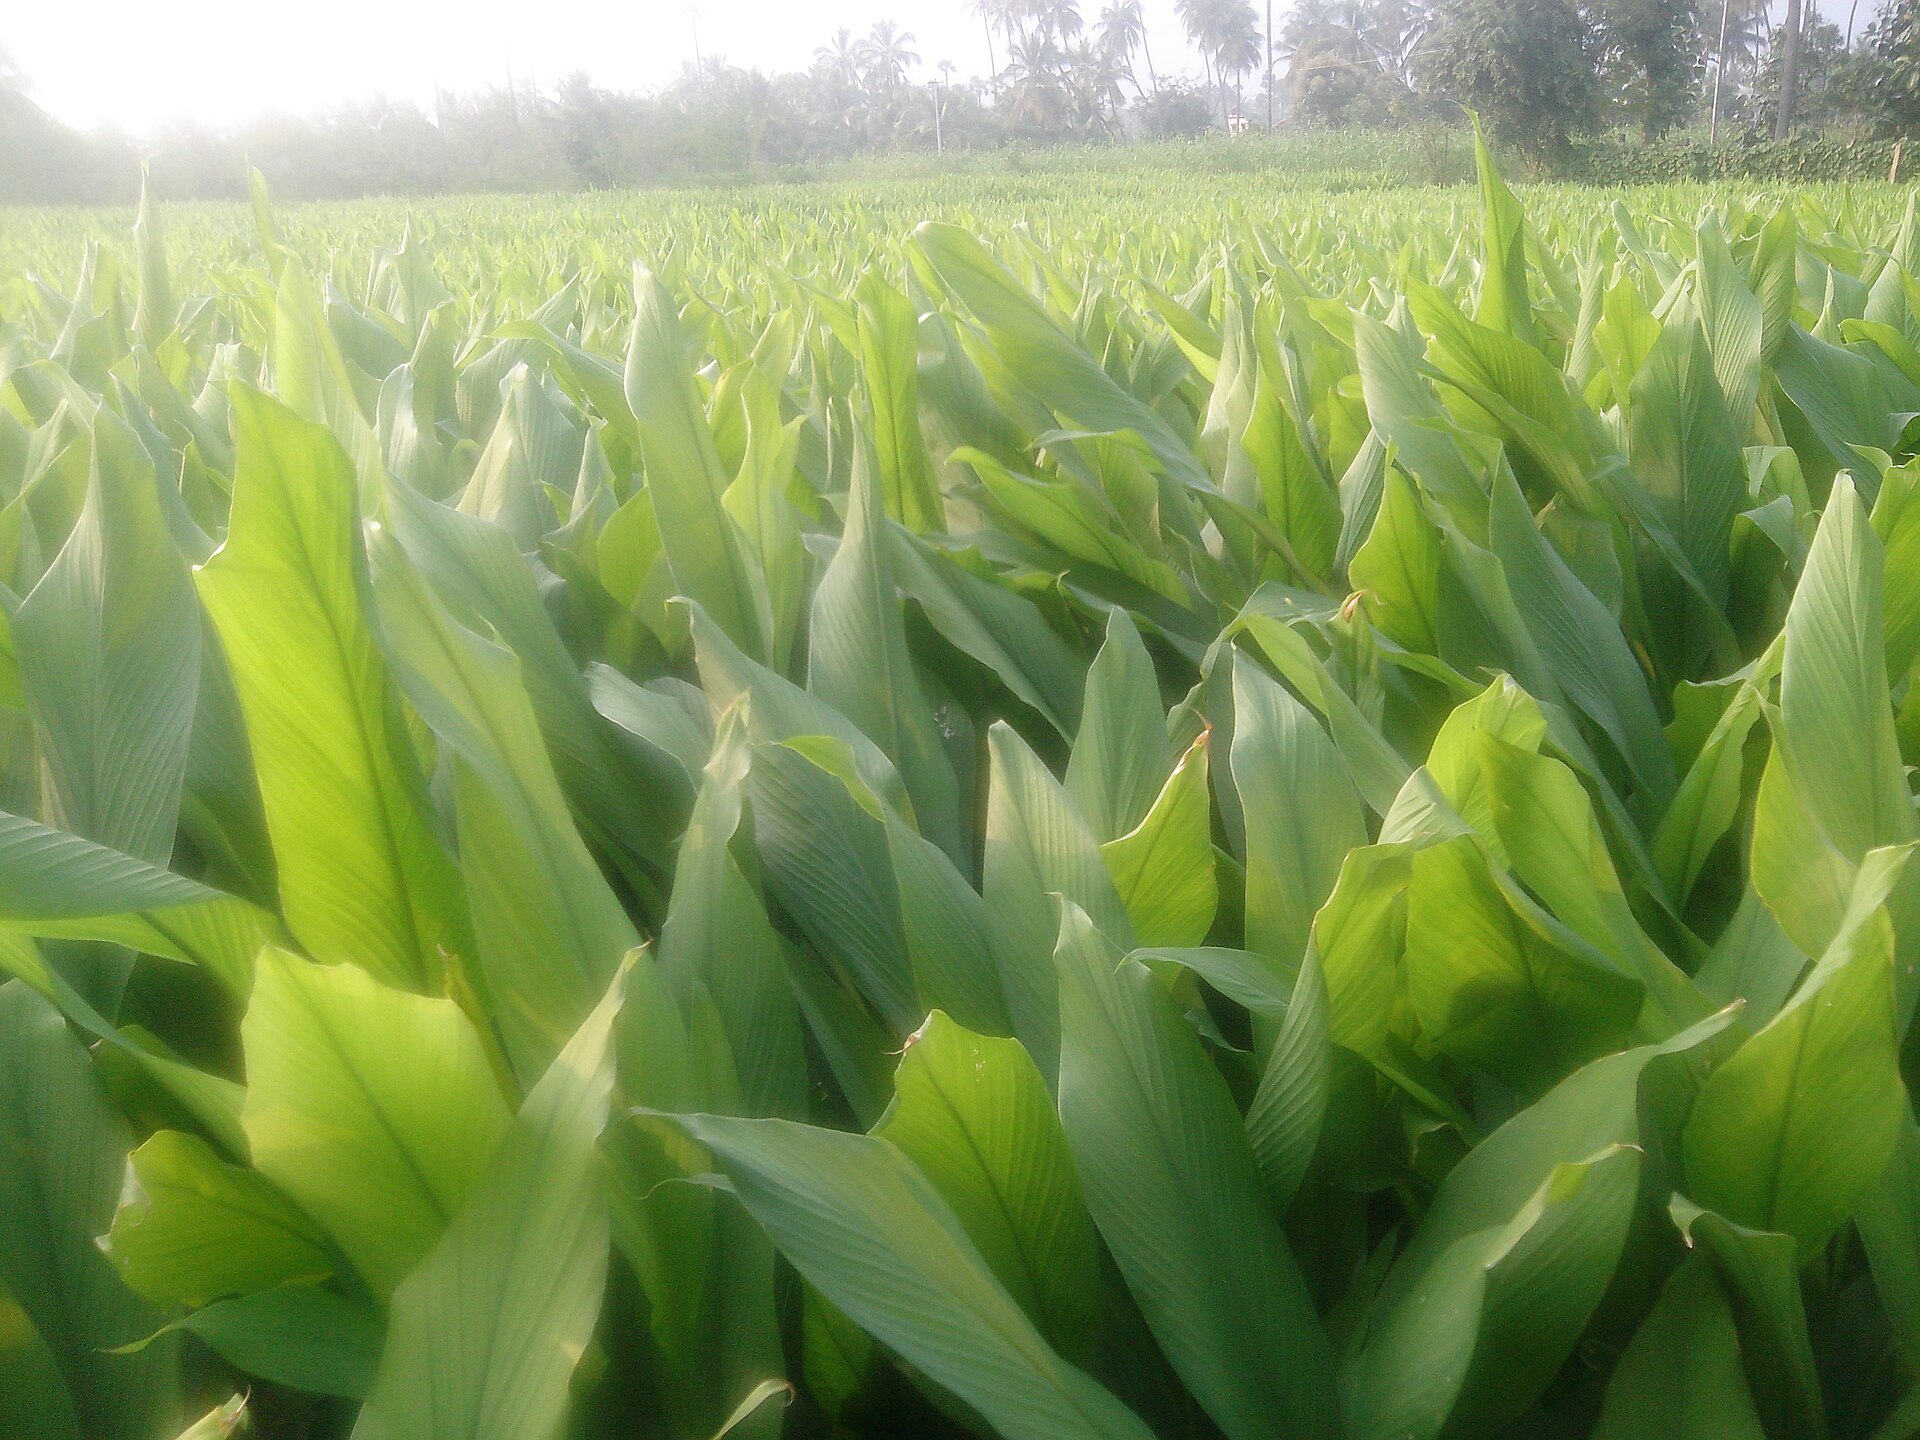
Photo: Thamizhpparithi Maari, CC BY-SA 3.0 (Wikimedia Commons)
Turmeric is a long crop that pays at the end. It occupies the ground for the better part of a year, gives nothing back until it is lifted, and then delivers a product that stores for years once cured — which makes it one of the few smallholder crops that can be held back from a bad market and sold into a better one. It is also the crop where the difference between a raw harvest and a cured, dried, graded product is the difference between selling a commodity and selling something worth buying.
Turmeric is grown commercially across South and Southeast Asia, and India is both the largest producer and the largest consumer. The world production share this guide previously said it did not hold is recorded below, and it is the most concentrated of any crop in this library.
A rhizome crop, grown from pieces of last year's rhizome, in the ground for most of a year.
Turmeric is a heavy feeder across a long season, and most of what it needs should already be in the ground before planting.
If you see: Shoots yellowing from the base upward, a soft watery base, clumps that lift away with little resistance, and a foul smell from the rhizome.
It likely means: Rhizome rot, driven by waterlogged ground and carried in infected planting material.
Do this: Clear drainage channels the same day and stop irrigating affected beds.
If you see: Cured, dried rhizomes that are dull, pale, or pale in the centre when broken open.
It likely means: Boiling was uneven, too short, or skipped — or mothers and fingers were cured together and cooked unevenly.
Do this: Boil or steam until cooked through, and cure mother rhizomes and fingers separately so each cooks evenly.
If you see: Mould on stored rhizomes, or a musty smell in the store within weeks of putting the crop away.
It likely means: It was not dried to a low enough moisture content, or it was stored damp or against a damp floor.
Do this: Dry to about 5 to 10 per cent moisture, testing by snapping a finger for a clean break with a metallic sound.
If you see: Plants that grew well but lift as small, light clumps with little weight.
It likely means: Seed pieces too small, crowding, weed competition through the long emergence window, or a crop lifted before it finished.
Do this: Plant pieces large enough to carry a bud and a real store of food, because this crop has a long season to fund.
If you see: Rhizomes at the top of the clump that are green or discoloured on the exposed side.
It likely means: They swelled above the soil line and were exposed to light because the ridge was not earthed up.
Do this: Earth up along the ridge as the clump develops, so swelling rhizomes stay covered.
If you see: Long gaps in the ridges weeks after planting, with many pieces never appearing.
It likely means: Seed pieces without a viable bud, pieces already rotting at planting, or ground that sat waterlogged after planting.
Do this: Check every piece carries a healthy bud before it goes in, and reject soft or discoloured pieces.
If you see: Leaves bleached or browned at the tips and edges, worst on the most exposed side of the plot.
It likely means: More direct sun and heat than the crop wants, on an open site with no shelter.
Do this: Intercrop under a taller crop where you can — coconut is a long-established companion for turmeric.
A long occupation of the land, a heavy seed requirement, and a product that keeps.
Growing the crop is only part of the job. The last part is knowing what a normal harvest looks like, and what your turmeric is actually worth before you agree a price.
If you forget every other page of this guide, keep these lines. They are the whole crop, in order, short enough to carry in your head.
What crop is this, growing in broad-leaved clumps?
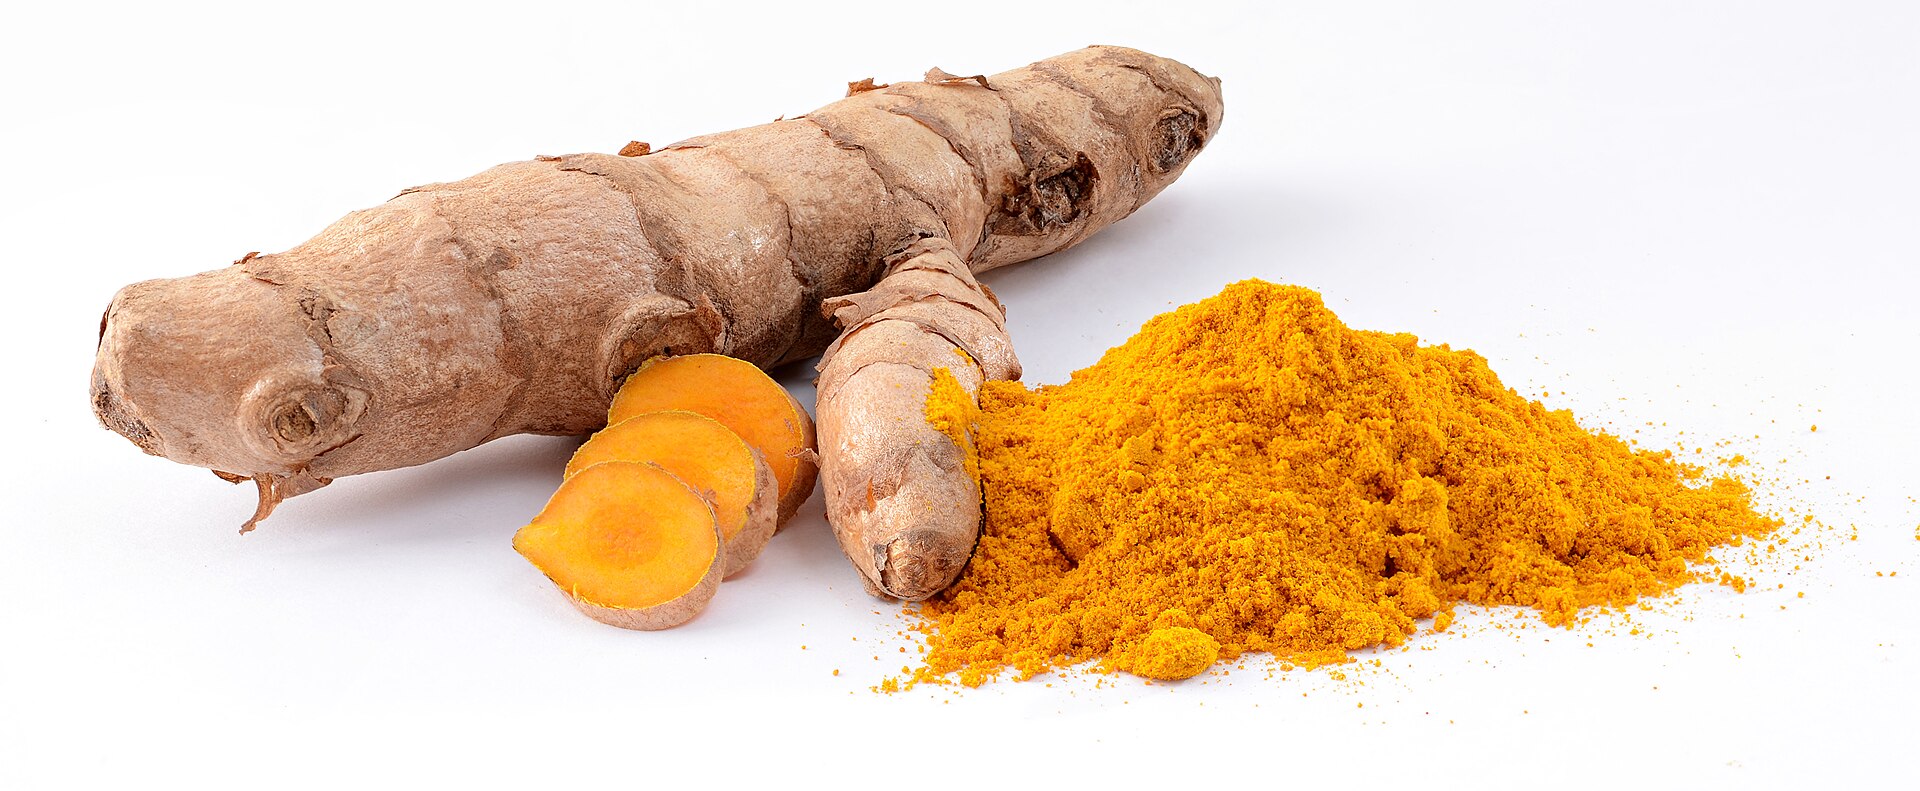
How do I tell turmeric from ginger with certainty?
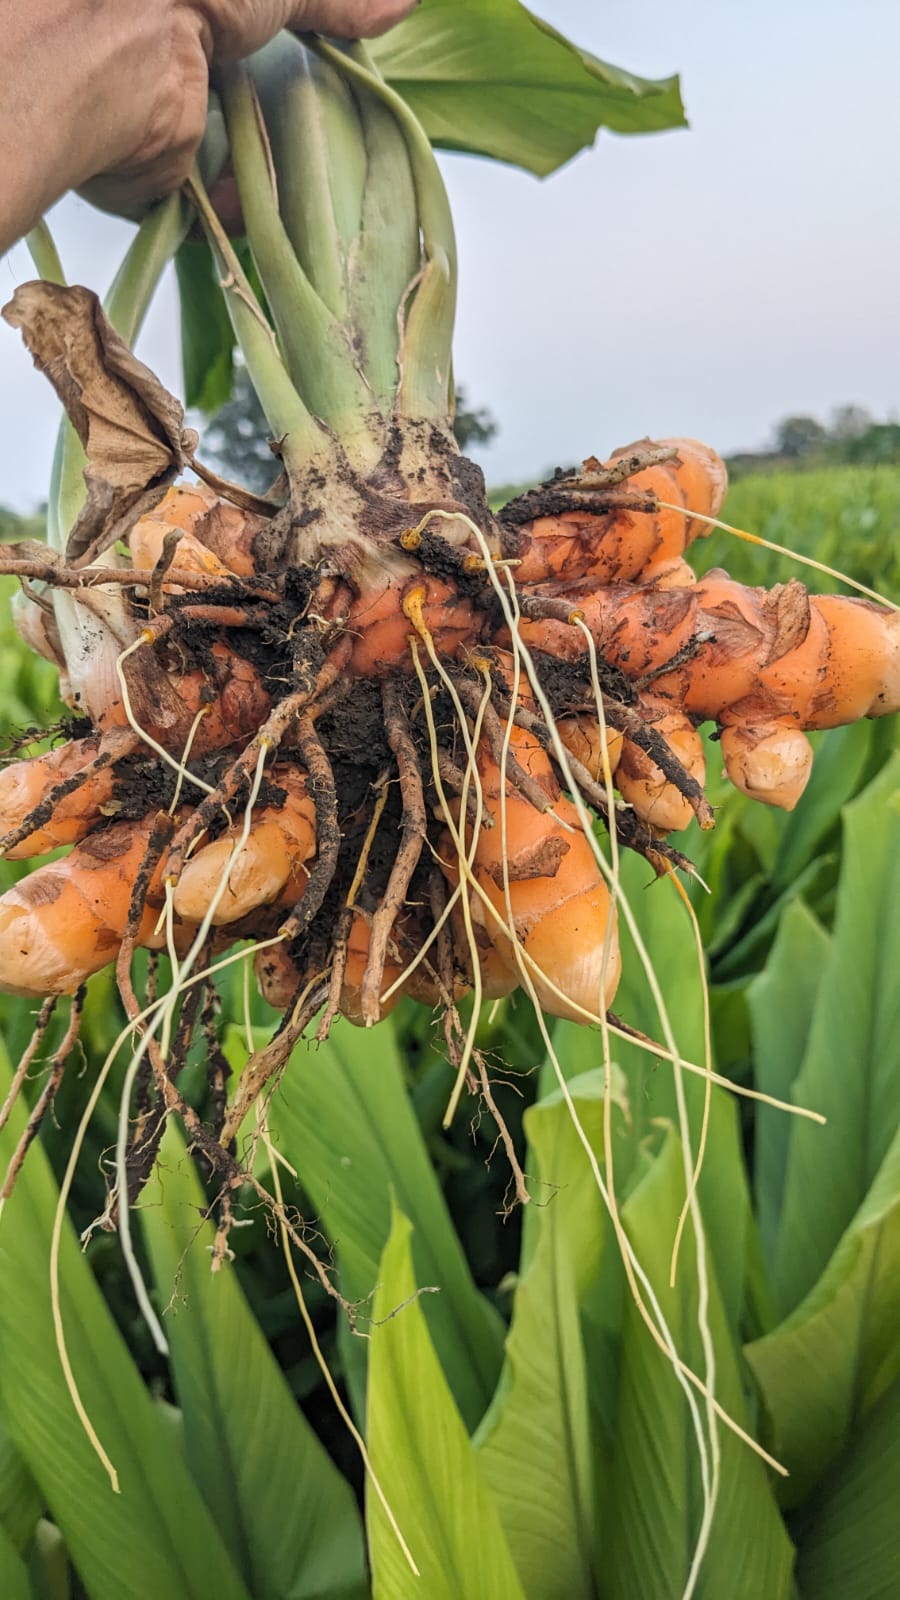
These pieces look different. Which is which?